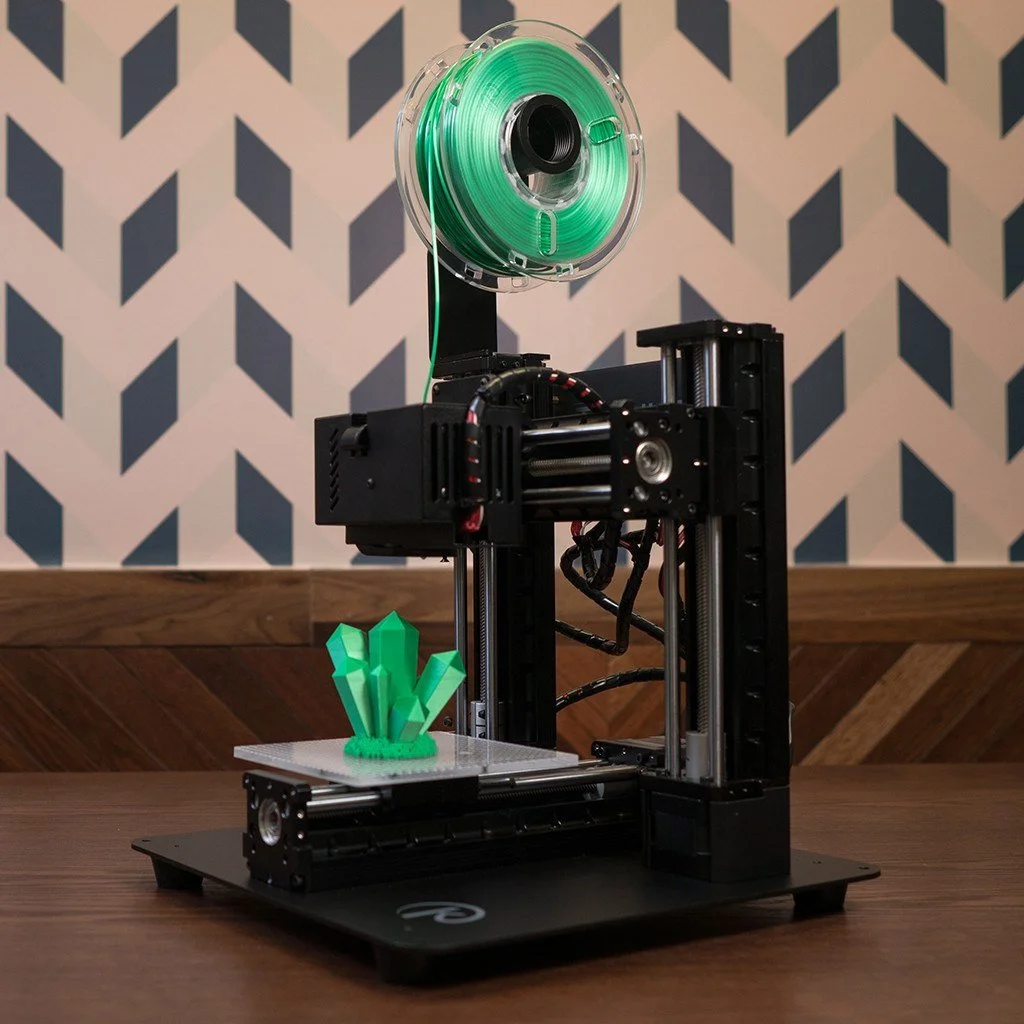
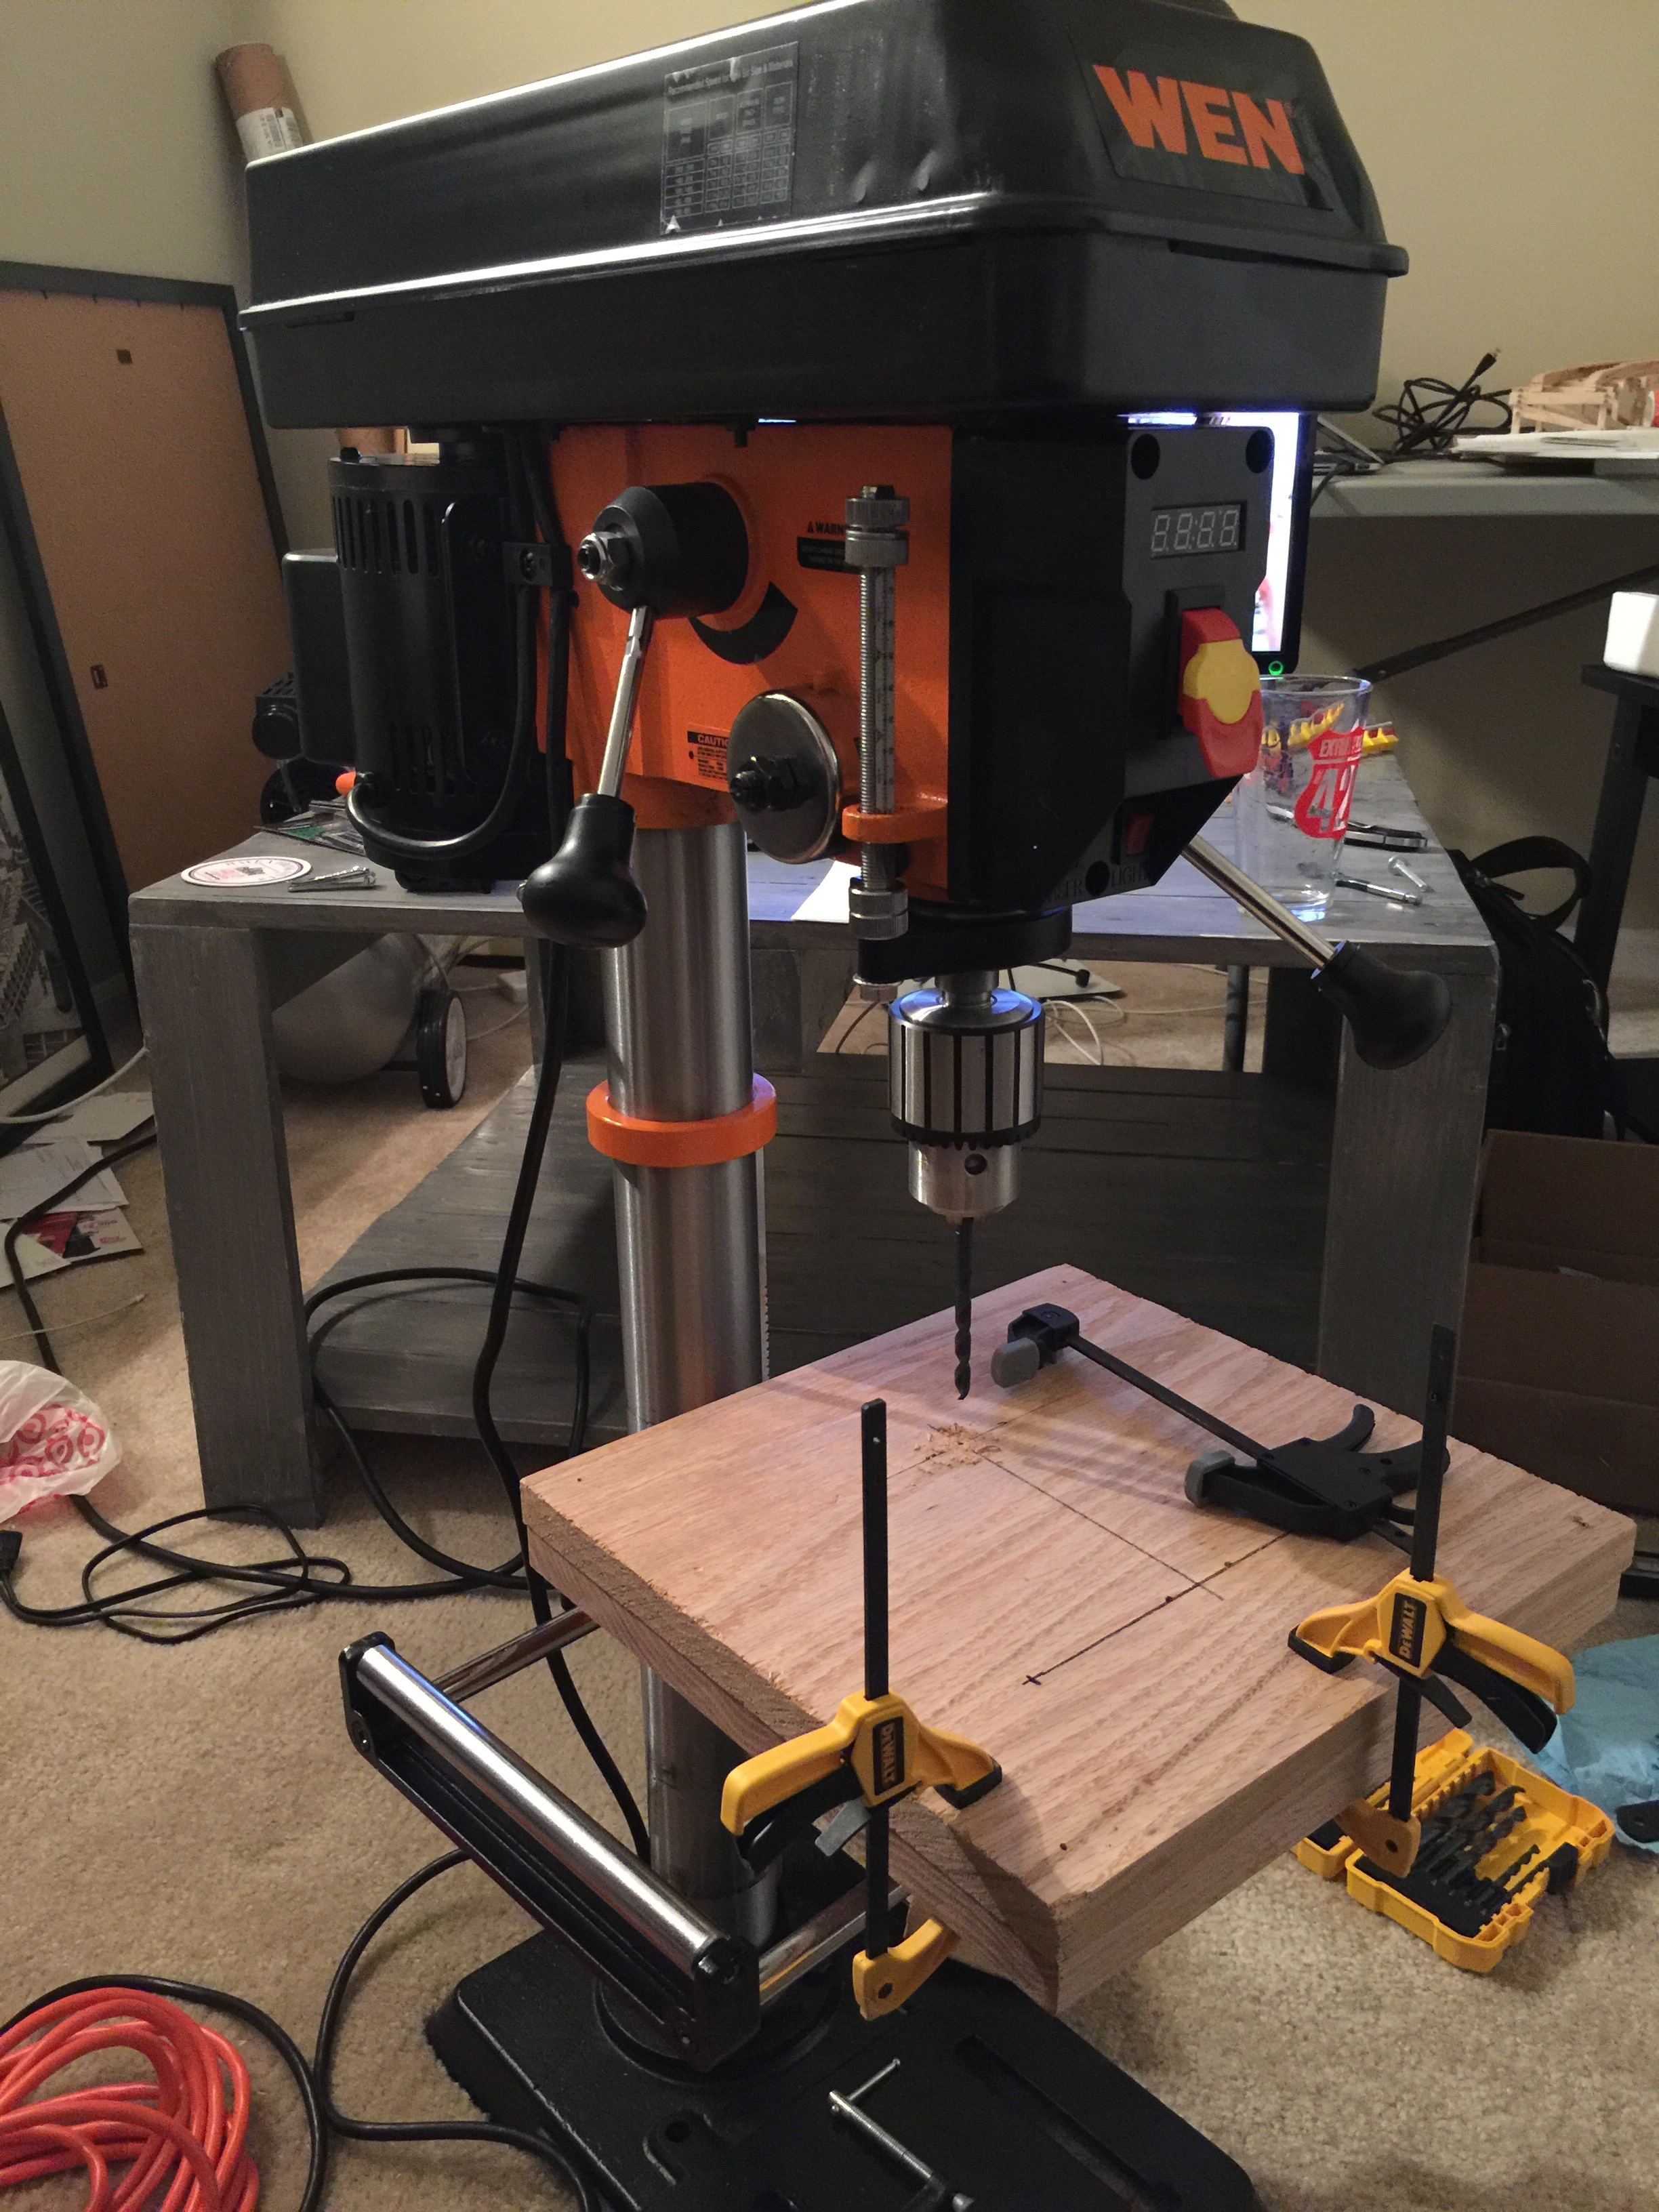
Milling Machine Test

Last night I decided to test the milling machine with a simple 1 inch square and a 3/8ths on an inch circular pocket (hole).  Since I didn’t feel like setting up a machining vise and aligning it, I used a trick that I’ve seen on ClickSpring on YouTube and NYC CNC: superglue and painters tape. 


IMG_3933.JPG

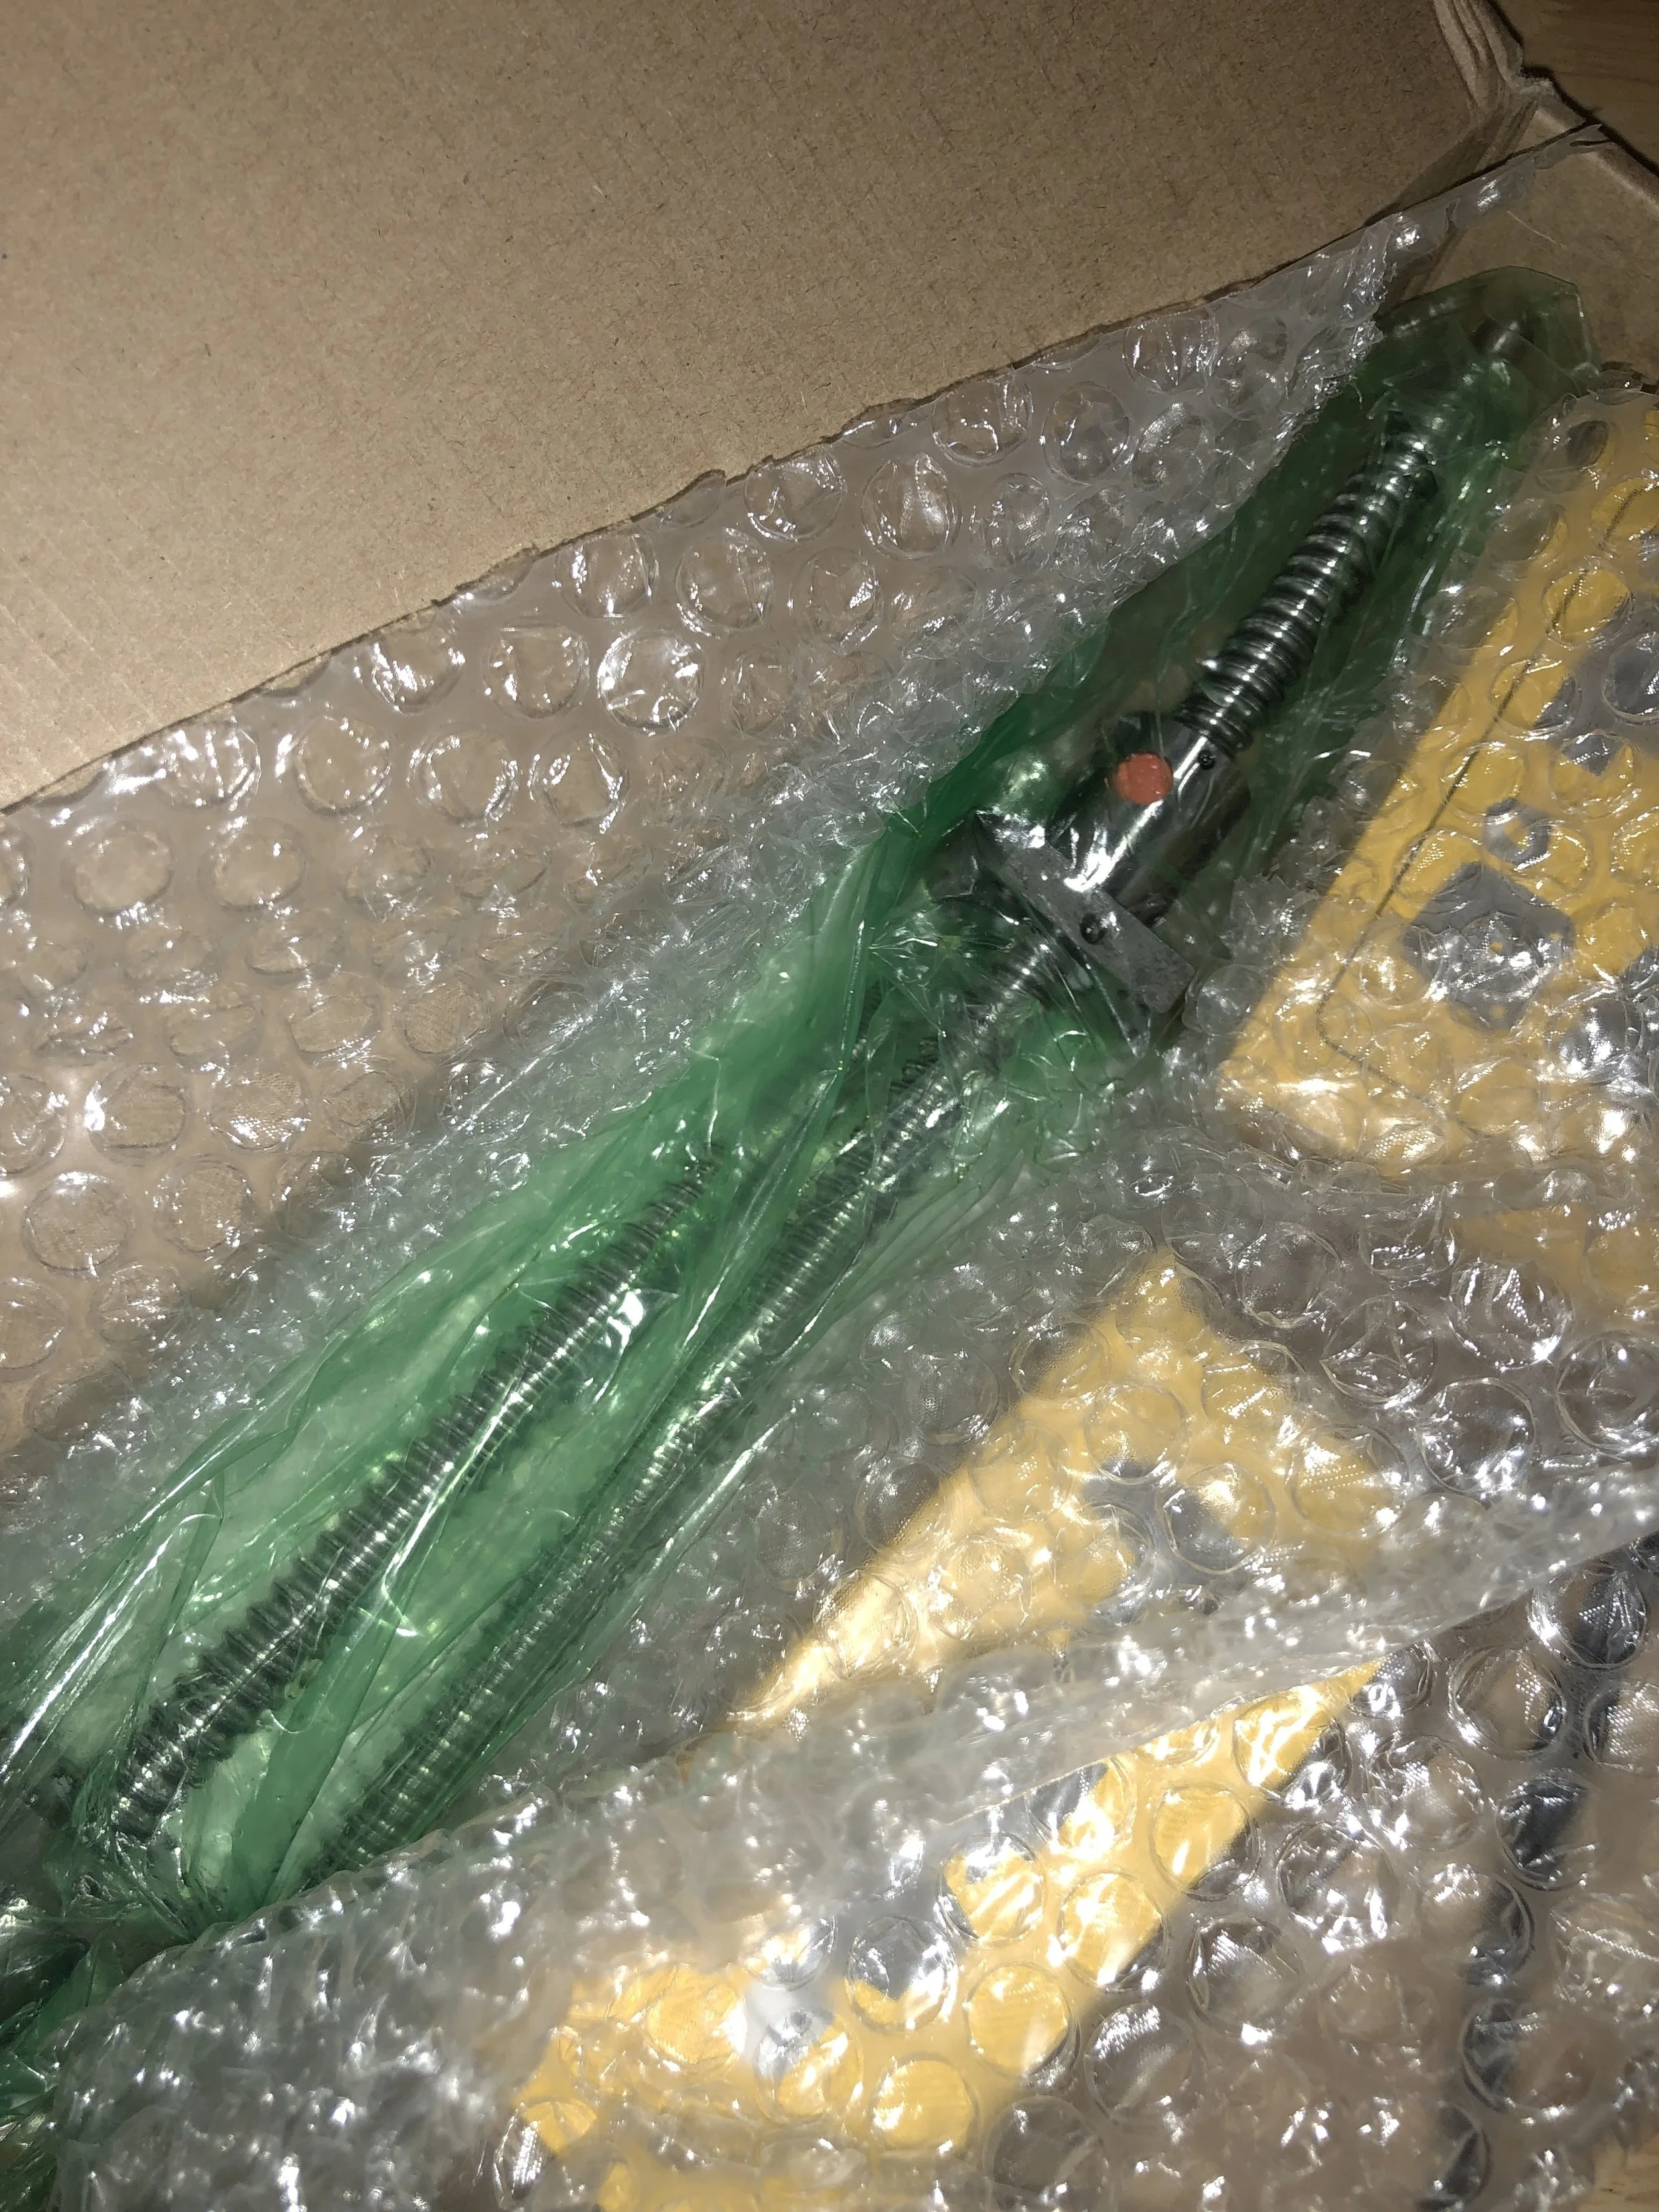
Keep in mind this was simply just to see if the ballscrew calculations were correct (I changed the number slightly from the previous post since the steppers I have only have two points).  My goal was to machine the square and measure how close to 1 inch it actually would be.  I was hoping to be within 0.001”. 

The idea of using superglue allows quick stock placement and strong work holding.  I began by placing an aluminum plate on the mill table and machined it to be flat and smooth.  Then, I placed painters tape down to make a surface to place superglue. 


IMAGE.JPG

Based on John Saunders of NYC CNC, I chose Frogtape due to increased strength over 3M Blue.  The next step was to place tape on the raw stock (I had already machined it flat, too).  Finally, you apply superglue to the part and apply pressure to secure it to the fixture plate.


IMAGE.JPG

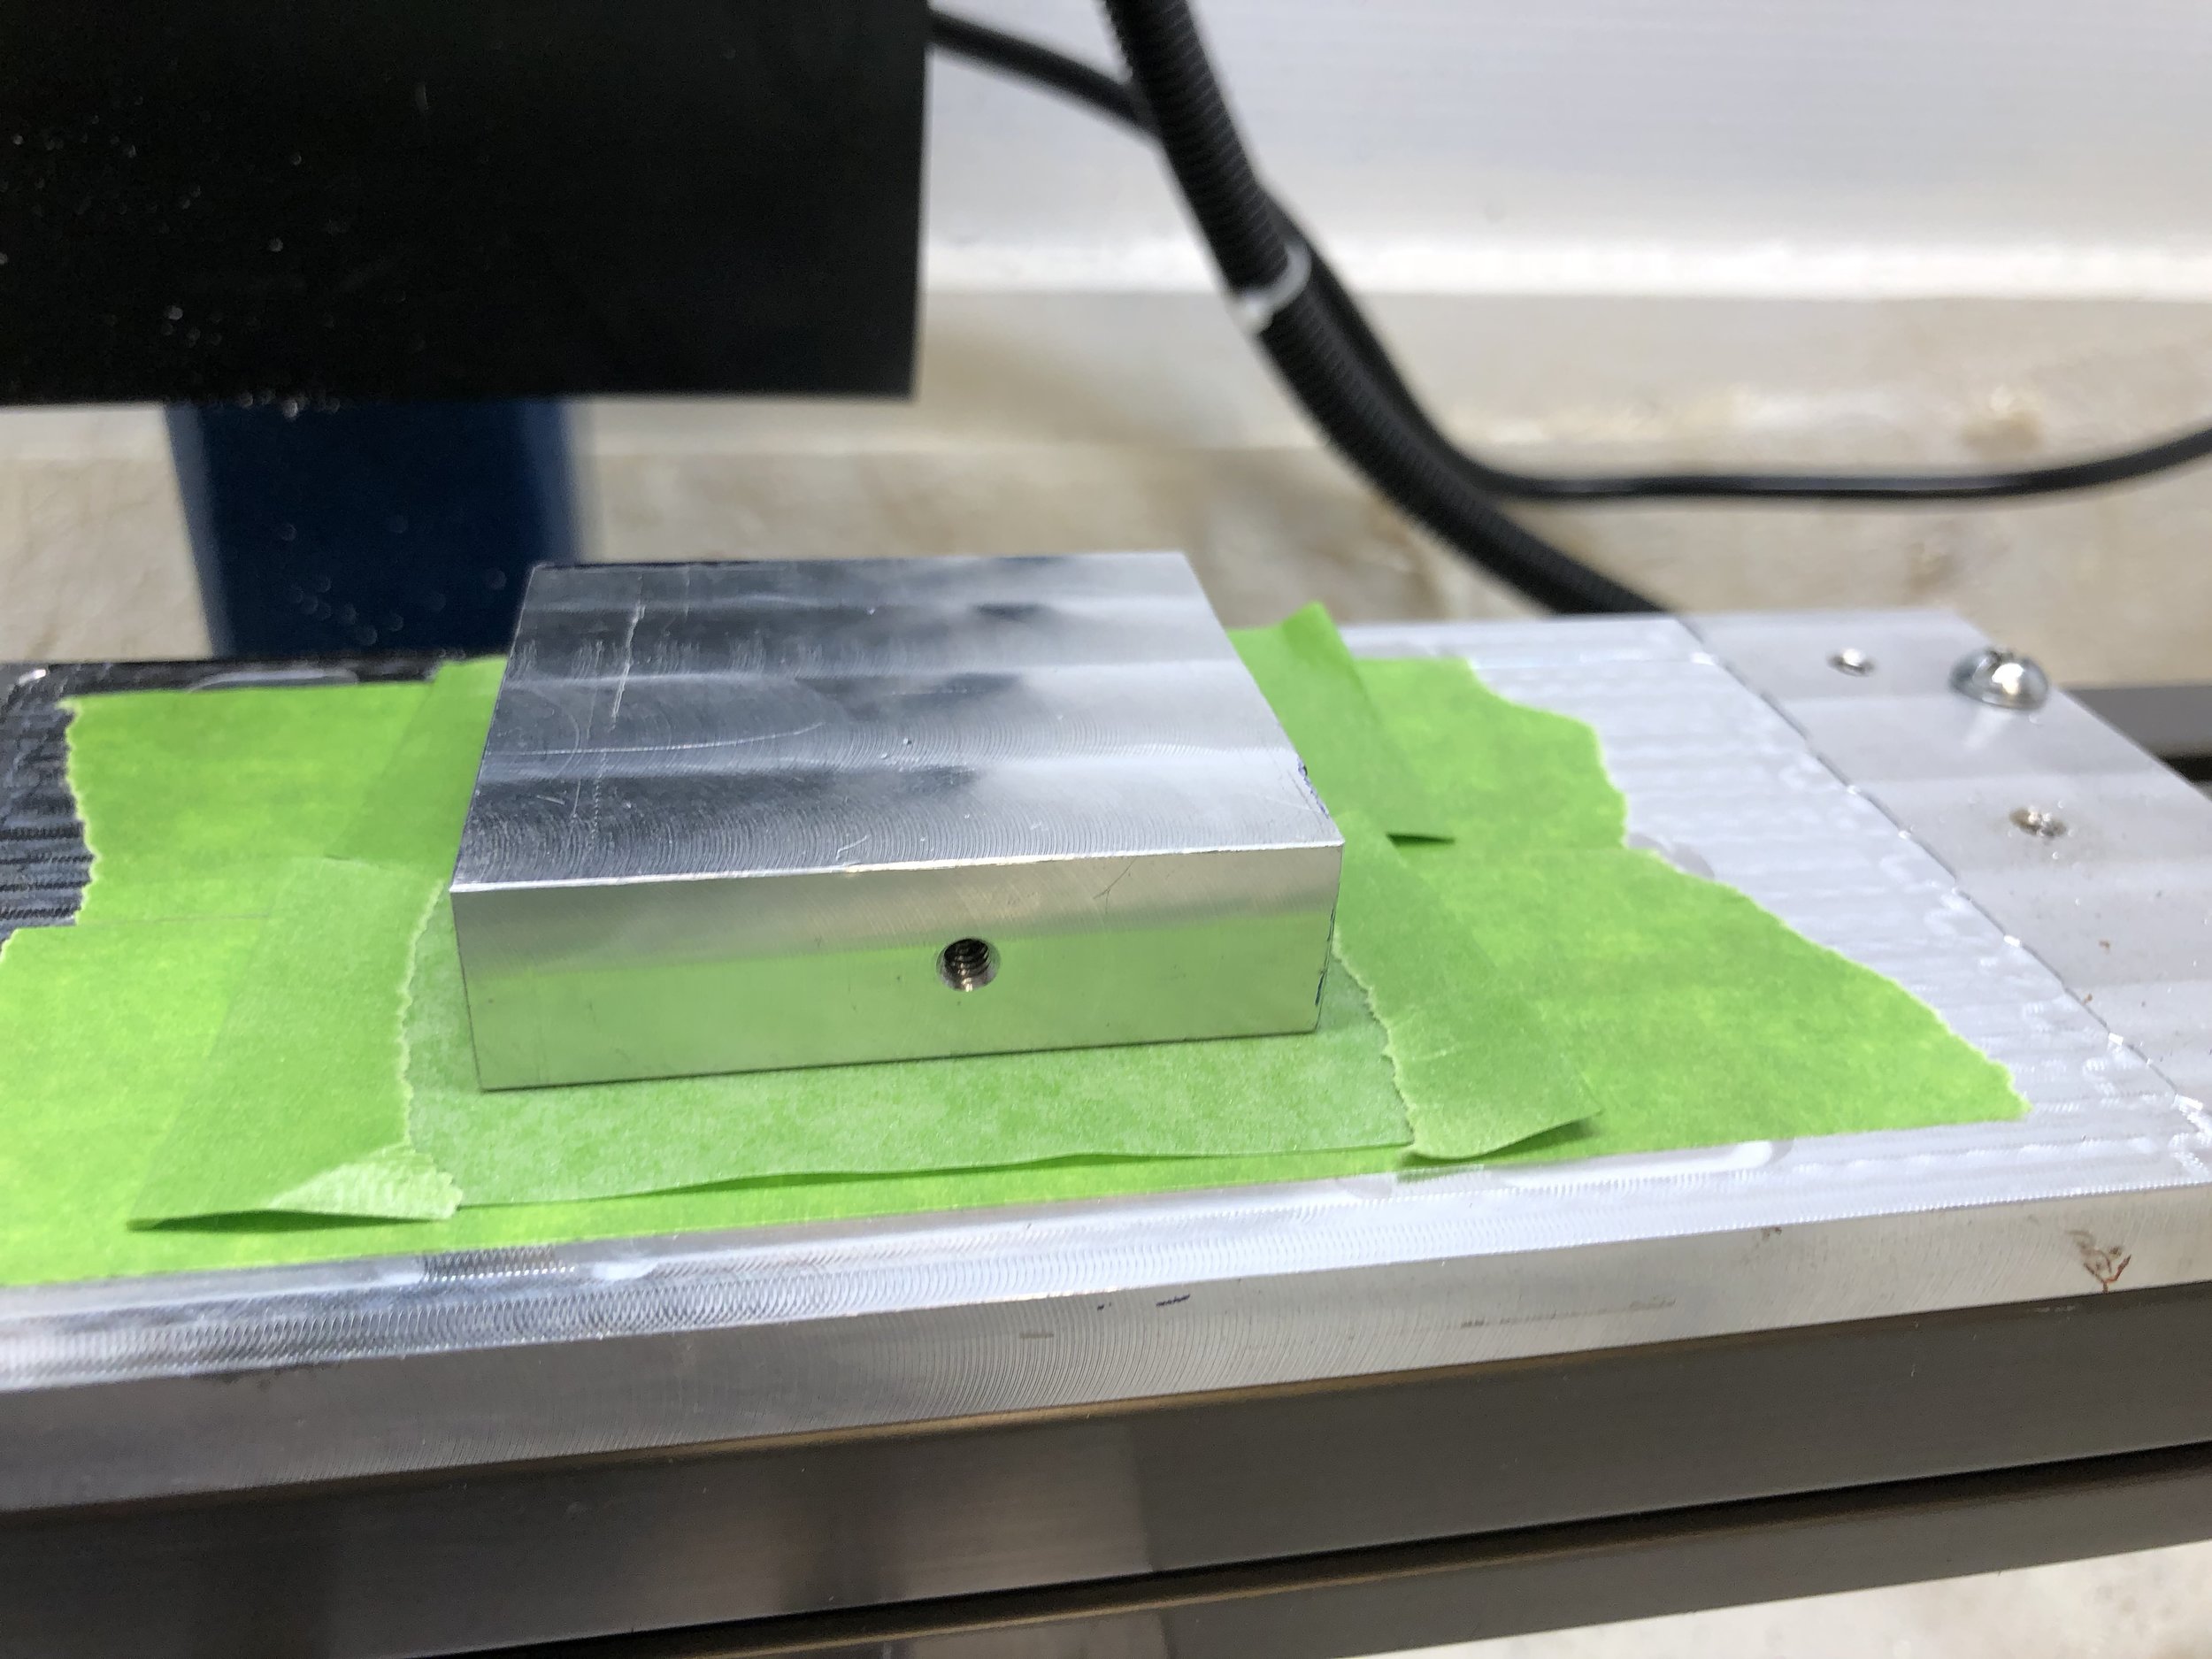
Now, it should have gone smoothly and completed in about 20 minutes.  I didn’t really do much work to ensure proper tool speed, but it did hold perfectly.  Aside from the loud chatter, probably due to no support in the middle of the aluminum plate, it was perfect.  Until... 

For some reason, my CNC software decided it wanted to stop near the very end of machining the square.  I had enough space to test the square dimension, but never got to the circular pocket. 


IMAGE.JPG

Albeit frustrating, I was happy to measure it and get far better than expected.  But there was one issue: I forgot to machine a relief hole to easily remove the part that was superglued.  Oh well, a heat gun will help burn away the superglue.   


IMAGE.JPG

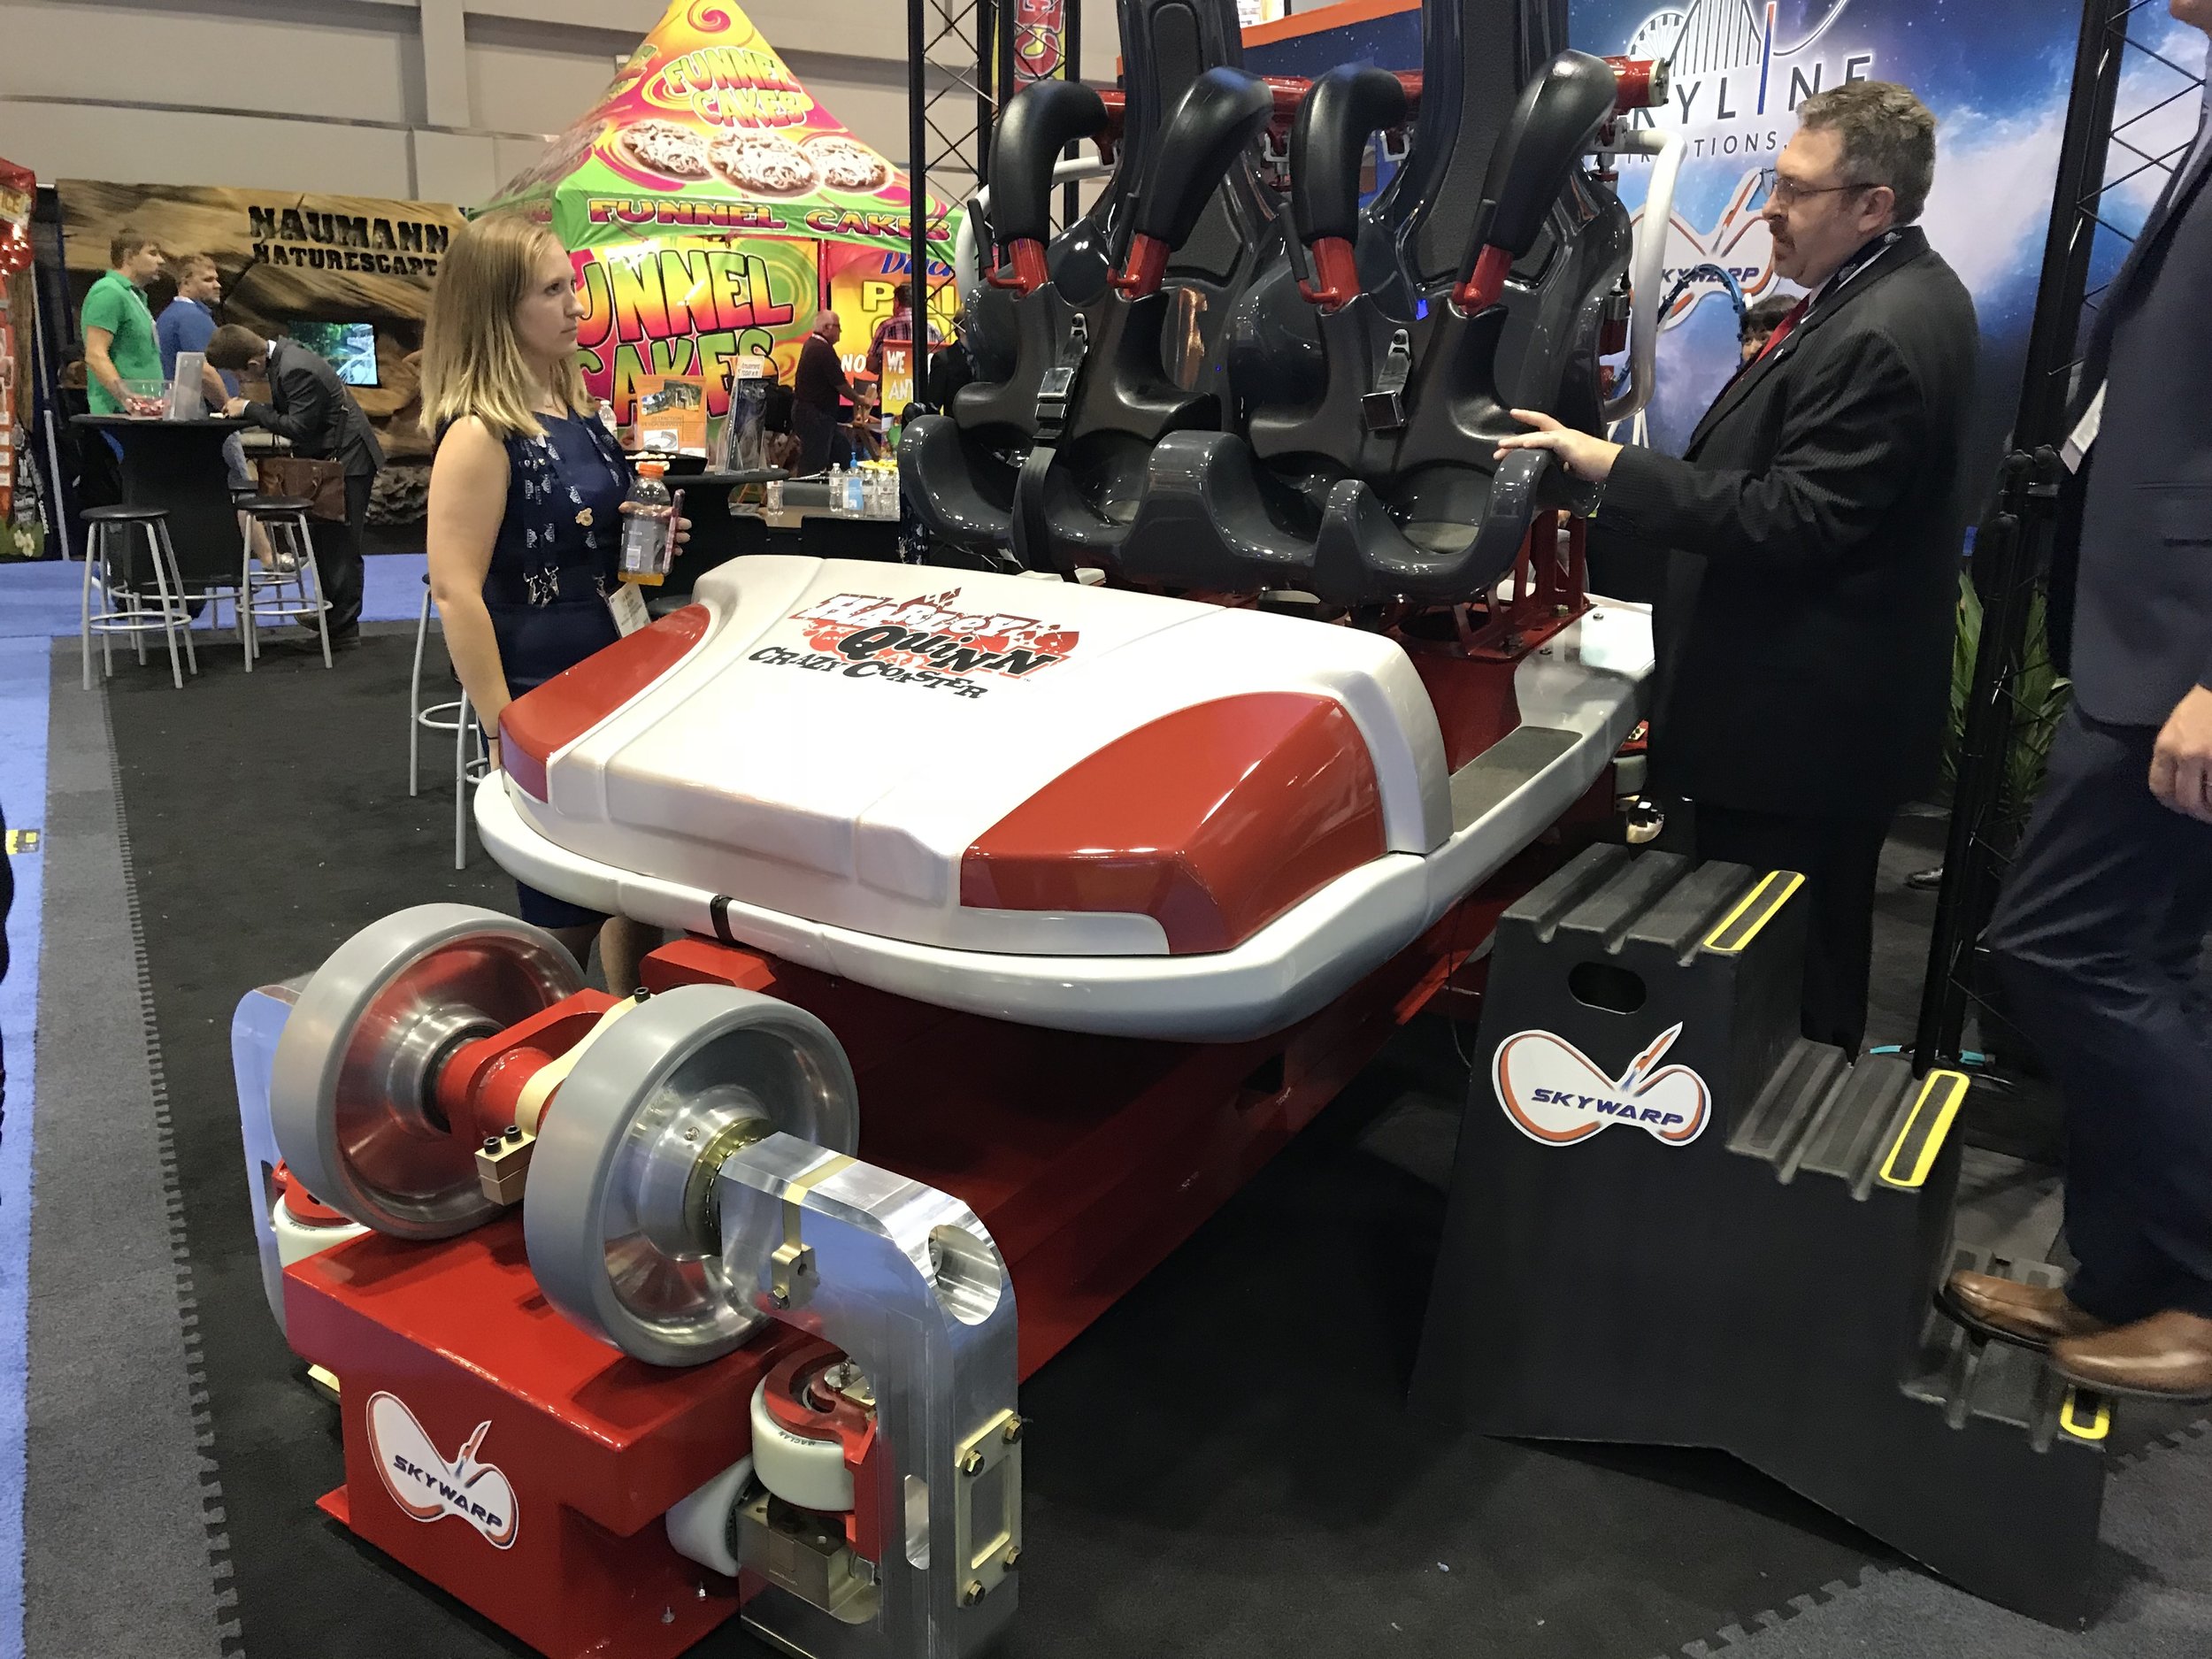
Now, I can begin machining roller coaster parts.  I’m going to start with forms to build ride structure.  Be on the lookout on the YouTube channel for more updates! 

Calibrating the Mill

When I decided to upgrade my Taig milling machine from a 1/2” lead screw to a more accurate 12mm ball screw, I figured there would be some conversion work.  However, as I delve deeper into Mach3 (the mill control software) I’ve had a few issues.  The main issue is coming up with the correct conversion so that when I machine something, the dimensions are correct and now off by some strange factor. 


IMAGE.JPG

Upon looking online, there are many posts about checking the actual travel as opposed to a calculation to verify measurements.  The most basic was to place a machinist ruler and physically check the travel.  Now, this works for about one inch, but not over longer travel.  

The next approach is to test using a dial indicator to produce a more accurate measurement.  I would either mount the indicator to the spindle and have the table travel a specific distance.  Near the end of travel there would be a solid surface, usually a gauge block, to check how much more it travels into the surface.  In other words, if I made it travel 6 inches and I know if passes that mark by roughly half an inch, then I could place the dial and get the exact reading.  That number would then be input to Mach3.  It hasn’t worked too well with a 1” indicator, so I purchased a 2” version recently.  

Now, if you don’t want to check measurements that way, you can calculate the appropriate steps per revolution of the ball screw.  Since I am using 12mm diameter screws with a 2.5mm pitch (distance from one thread to the other), I must account for this variation.  From what I’ve read, each stepper produces 200 steps per revolution.  I’m not sure if that’s clear across the board, maybe someone could clarify that.  My Mach3 setup is in Imperial (in) and the screw needs to be converted.  So...

25.4mm/inch / 2.5mm = 10.16 inch

This number is then multiplied by the steps per rev (200): 

10.16 x 200 = 2,032

And since there are apparently four poles that allow rotation of the motor, you multiply by four. 

4 x 2,032 = 8,128

This number is then entered in to Mach3 per axis and should provide proper calibration.  I’ll try this and verify with the dial indicator and hopefully all will be accurate.  Please comment if you know any other way or if there are any corrections to what I am doing.  

The next task for me was to tramm the mill, or basically square it up so I have a flat working surface. 


IMAGE.JPG

To ensure proper squareness of the mill spindle and mill table, I used my Mitutoyo indicator which checks variations in 10,000ths of an inch, also known as tenths.


IMAGE.JPG

After incremental adjustments and moving the table along the length of travel, I ended up with the mill being roughly 0.0005” square.  This is great and will allow me to make accurate parts!

Back to Filming

Now that things are ramping back up, video production is back.  This morning I uploaded a teaser video , albeit overly dramatic.  Would you expect anything less?

You can find the video on our YouTube page or on our channel HERE


IMG_3919.JPG

I will release a video every week, and they will vary, but there will be a process to making rides.  Each video will cover different aspect from start to finish: lift mechanics, brakes, structures, and trains.

For now, enjoy the teaser reel and be on the lookout for new blog and social media posts for backstage happenings.  


IMG_3920.JPG

Thoughts Over The Weekend

Since I’m on the verge of this long adventurous process of machining little coasters, I had a few thoughts this past weekend.  One thought was “where to buy material in bulk?”  Typically I have used a few different sources: McMaster-Carr or Online Metals.  The prices vary depending on alloy type, but they have both been relatively cheap.

Now, I may be jumping the gun a bit, but it’s a good idea to plan for increased material costs throughout larger production.  The wood I will be using is also on the list of thoughts. 

When it comes to wood, it’s always better to find a wholesaler rather than frequenting the big box stores.  Wholesale is going to be my route, but I’m not too familiar with ordering from one.  If you guys have any advice on either metal or small scale lumber, please leave comments or reach out to me.

Also, tonight I will be testing the milling machine and possibly releasing a video or two this week.  Check back soon! 


And if you haven’t yet, visit the Coaster Shop page and check out or pretty nifty shirts. 

-David

The Mill is Up

As of last night, the CNC milling machine has been assembled and wired.  I’ve only tested the motion controller and axes to see their responsiveness, but soon I’ll be calibrating and tramming the Z-column. 

To put it simply: I wanted to see it move and will need to make it nice and perpendicular prior to machining anything. 


IMG_3900.JPG

You’ll notice in the picture above that the mill isn’t sitting flat on the chip tray, but why?  To ensure the mill is nice and level, I placed three leveling nuts with wide washers to secure it.   

Leveling nuts are used in almost all steel structures and are later compacted with grout to ensure proper stability.  Steel roller coaster supports are leveled this way and connected to anchor rods that extend into the concrete foundations.  Seeing as the mill weighs only 70 lbs (32kg), it won’t require grouting or anything under the leveling nuts.  The only modification I made was to add nylon lock nuts to counteract vibrations from machining. 


IMG_3902.JPG

The milling machine is a Taig closed loop system with ballscrews.  For its price, it’s a good start for machining.  The ballscrew upgrade was done last year prior to my mass exodus from the country for work, and I’m eager to see the accuracy and repeatability for my parts. 

The next step was to install the stepper motors for each axis: X (side to side), Y (Forward and Backward), and Z (Up and Down).  The mill, as all three axis milling machines, follow Cartesian coordinates.  Yes, that math stuff that you’d never thought you’d use again...I guess unless you’re an engineer or architect. 


IMG_3908.JPG

The motors are connected to a motion controller and computer with special software.  I’ll go more in detail as I build the CNC lathe, but it’ll allow the making of any designs I can create. 

Just an FYI, CNC stands for “computer numeric control”.

Also, if you’re wanting to show off your love and support for The Biggest Little Rides out there, we will be launching a store page called “The Coaster Shop”.  As for now, we have The Roller Coaster Project logo shirts for men, women, and children...but I’ll always be a child at heart.  In the future, this is where li'l products will be sold.

The Plan

I’m sure it’s no surprise that the idea of making miniature model coasters to grace many desktops worldwide has been on my mind from the very beginning, or since the Kickstarter days anyway.  However, this has been far more difficult than I had ever imagined.  The learning curve of machining and creating “possible” designs has been steep, to say the least.  Going forward, I will be documenting that process to make these mini models and the tools required for them.


IMG_3844.JPG

The ballscrews and nuts above will be used to convert my mini manual lathe into a computer controlled marvel.  I know, I know, I made a video about whether or not to conver the lathe to CNC back when I was working out of my friend’s garage.  To make more repeatable and consistent parts (car axles and connections), the computer controlled option is a must.  This will also give me the opportunity to design and install my own parts to ensure the lathe works.  Hopefully I don’t screw it up and create an 80 pound piece of s***.

The rides will be small enough to fit on a desk, basically becoming a cooler distraction than a fidget spinner, and they will be fully working including working brakes and lift.  The cars will be aluminum (aluminium for my U.K. friends) and the structure will be mostly wood.  There will be a few iterations of the product and they will be available on this website’s store page.  More videos will be made to document the process and entice those thrillseakers out there.  

 I’ll go into more detail once things get up and running.  This week I am setting up and calibrating my CNC mill.  


Thanks guys (and gals), 

David

What I’ve Been Up To...

Over the past year, I’ve been pretty much nonexistent on the website and YouTube side of things.  So, let me explain and show you where I’ve been and why I was unable to produce more content. 


Previously, I worked for a wooden roller coaster design and manufacturing company which brought me to Cincinnati, Ohio.  I was tasked with a few projects overseas and domestically for about a year and a half which required much travel.  You can see how this is difficult to continue with building and designing for TRCP. 


IMG_0911.JPG

The picture above is of Mystic Timbers at Kings Island in Mason, OH and wasn’t too much of a drive but it was the first of my many intensive projects. 

The next park/ride took me to Virginia, and many nights of testing and evaluating ride performance and acceleration data.  This park is Busch Gardens Williamsburg.


IMG_1152.JPG

Having spent roughly two months in Virginia, I had the opportunity to work with a great theme park organization.  It was a tremendous experience to bring InvadR to life and get a few hundred laps in practically every seat on the ride.   

With the work, I would take some moments for myself and snag a picture or two: 


IMG_1189.JPG

Now the lengthy travels... 

The next assignment was to conquer Europe.  I had no more than two days between Virginia and Europe to get things sorted back in Ohio.  It was a bit chaotic, but I was able to arrange everything necessary prior to spending what would be roughly 7-8 months abroad.

My first stop: Plopsaland De Panne to open Heidi the Ride in Belgium. 


IMG_1309.JPG
IMG_1279.JPG

After one month in Belgium, and a successful opening of Heidi the Ride, I was off to my next destination: the United Kingdom. 


IMG_1444.JPG

Aside from the pomp and circumstance that was present in London, my focuse was more north and west to one of the coolest parks I’ve ever visited: Alton Towers.

Since wanting to design and build rides from an early age, Alton Towers was seen as the “Holy Grail” of parks...pun intended.  I could have never imagined that I would be able to visit, let alone work with, the park I had only seen on television throughout my childhood. 


IMG_2227.JPG

Nemesis 

IMG_2220.JPG

The Smiler


The project that took me to Alton Towers: The Wickerman.  It was to be a twisted Ky compact ride with an abundance of theming and fire.  Fire, always a good thing near a wooden roller coaster, right? 

The ride had many challenges, of which the varying terrain was pinnacle.  


IMAGE.JPG

One of the best parts of building any ride is the moment when you stand the tallest section.  Since we were working with British, German, and American workers (myself included), I found it necessary to represent the flags of the workers who helped bring the Wickerman to life.


IMG_2299.JPG

Working with Merlin Entertainment was an absolute pleasure, and the various contractors became a pseudo family across the pond to me.  Since most of my time was spent working, they did take time to show me around England and attend a few Premier League matches for Stoke City.


IMG_2816.JPG

I lived in England for nearly seven months, and had the opportunity to work alongside the best in the business.  Smytheman Architecture, Kettle & Talbot, Merlin, and Structure Crew were just a few of the many hands that worked to make Wickerman a success.  


IMG_3394.JPG

Upon returning from the U.K., I worked for another six months for Great Coasters and visited the main office in Sunbury, PA many times.  But, I knew I had to continue on my path and later departed from the company earlier this year.


Since my departure from GCI, I have been working to continue what I started so many years ago and am developing something some pretty nifty gadgets.  I have been setting up the shop, and will be tuning the machinery in the coming weeks.  My videos and posts will resume, and I look forward to hearing from you guys.  Thank you for following along, and I’ll talk to you soon! 

- David


IMAGE.JPG

For the New Year

Hopefully everyone had a wonderful holiday, and are looking forward to the New Year.  Here at TRCP, we are changing a few things up. 


Machining and fabrication will resume as soon as possible once things are a little more stable.  With that being said, work dominated most of my life this past year and took me abroad often.  Now that I have returned, I want to delve deeper into the Trinus 3D printer we acquired earlier this year. 


IMG_3499.JPG

The Trinus is a pretty solid little printer for the price, and it performs better than our previous Solidoodle.  For a review of the Trinus, please checkout the YouTube channel here .


Although the Trinus is not for final fabrication, we will be experimenting and uploading videos weekly to document.


Also, we will be adding “The Roller Coaster Project” shirts on our soon to be added store page for purchase.  That way you can show your support for The Biggest Little Rides to Ever Be. 


Enjoy Your Ride!

David

Update - December 15, 2017

It’s been a chaotic year.  Most of it has taken me overseas for work.  More updates on that will come early next year.  But, all the while I have not forgotten about The Roller Coaster Project. 

IMAGE.JPG

Skywarp Lead Coach


In all, it was a successful IAAPA trade show.  There were many vendors exhibiting VR ride experiences.  Having riden a few rides with such apparatus, I find them to be a bit gimmicky in their current state.  But who knows what will happen with future developments. 


As for building the coasters, I will be working on releasing more content.  Since there are a few things in the works in my personal life, it has hindered some of the development of the mini rides.  Nevertheless, I will work to update the blog regularly with my workings and will upload more YouTube videos accordingly.   


Enjoy Your Ride! 

IMG_3295.JPG

Humbled by a young industry professional and fan. 

I'm back...sort of.

I know it's been a tremendously long time since my last blog post, or any post for that matter, but I will now try to send a few things out on occasion. 


Currently, I am abroad for work and unable to continue building the biggest little ride ever.  However, I will try to update calculations and designs while abroad and maybe some photos depending on what I am able to show.  Cryptic, I know...  


Just a few of my ventures. 


HTR 

HTR


IMG_1152.JPG

And more work. 


Enjoy! 

An update

Although it's been a while, here's a little update.  Soon we will be making a trip to the west coast (the best coast I hear) and producing Part 2 of our roller coaster car in California. 


We will be taking a GoPro with us and documenting the festivities that take place.  But once we return to reality our machining will once again begin! 


The Taig Enclosure  

The Taig Enclosure  

As you can see, the mill is vertical and a few of the motors are mounted.  Soon the enclosure will be fully finished and more cars will be coming off ready to be assembled. 


In the mean time, we have been doing some calculations and design wrap ups and we are looking forward to building this li'l wooden coaster.   


image.jpg

The New Drill Press

Since the move, I got to thinking: "what about a more powerful drill press that'll allow me to changes arbors and make threads?" 


A Broncos Fan  

A Broncos Fan  

The new drill press is a Wen 12" press with a MT2 taper.  This bad boy has some serious power and sufficient rigidity.  Perhaps the best thing is currently in the mail and on its way: a tapping head. 


Since most of the roller coaster car designs incorporate a tremendous amount of tapped holes, the new drill press is up for the challenge with the new tapping head. 

Updates around the "shop."

It has been a while since our last update via written word, but many things have changed.  To start, if you've been following along on our YouTube channel, you'll notice there was a move to a new location.  With this move we've had to come up with new ways and means to produce miniature rides.  Mainly the machining, that is.

In order to machine inside the new apartment, albeit not ideal, we are having to build a machine enclosure.  Upon weighing the 80/20 versus wood frame options, we decided the wood was cheapest and customizable.  After trying to seal the various openings and gaps in the wooden boards, and becoming incredibly high from caulk fumes, the enclosure will get a few coats of polyurethane sealant.

Soon we should be up and running with machining and a possible product for the world to adore.